1. Visit https://home.s.id/
2. Click Login/Register.

3. You will be given three authentication methods to choose from: e-mail, Google and U.id, choose your preferred option to continue creating or logging into your account.
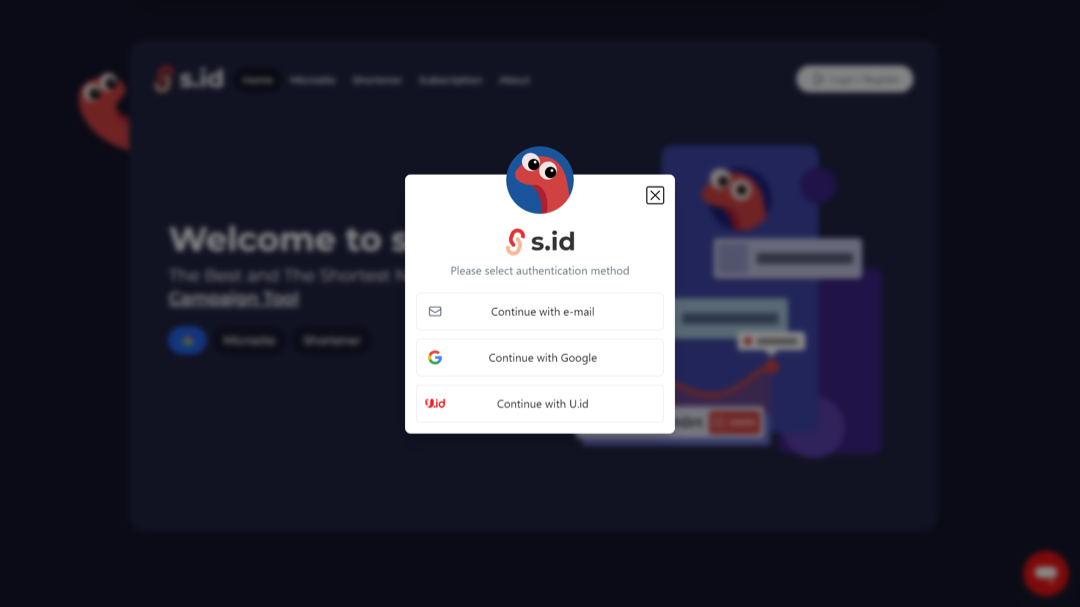
4. 4. After logging in, you will be redirected to the S.id dashboard. There are two ways to create a microsite:
You can select the Create New Microsite button under Quick Access located directly on the dashboard.
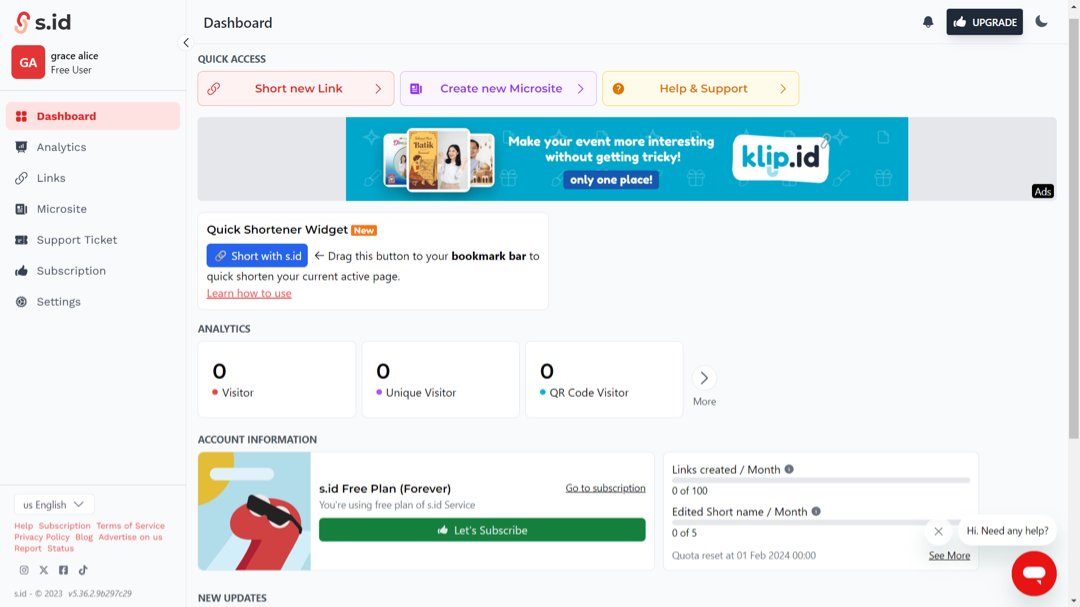
Or click on the Microsite menu located on the sidebar menu, then click the Create New button.

5. Determine your microsite type
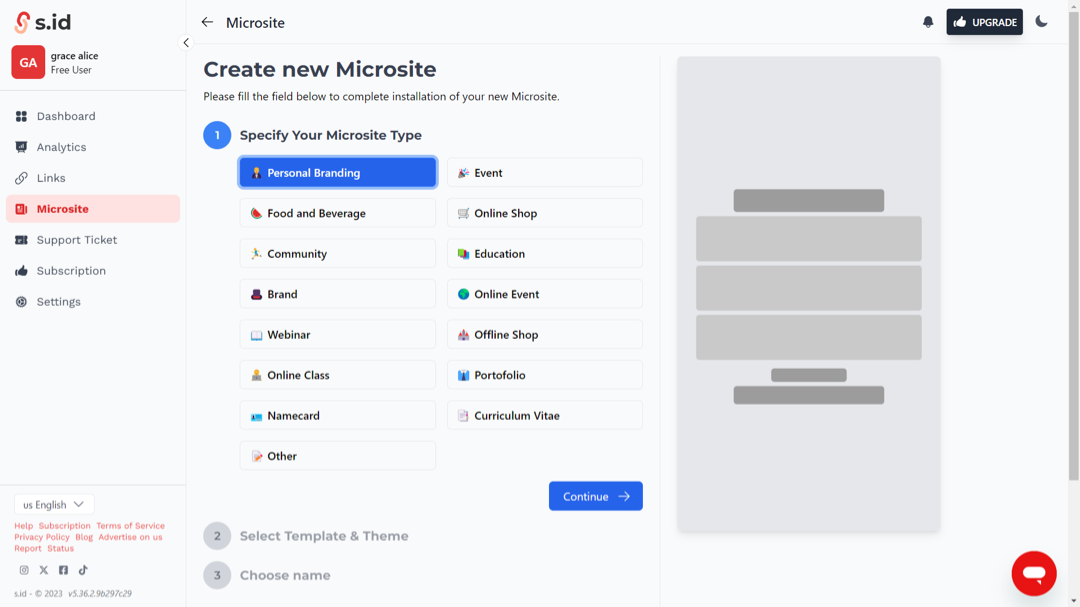
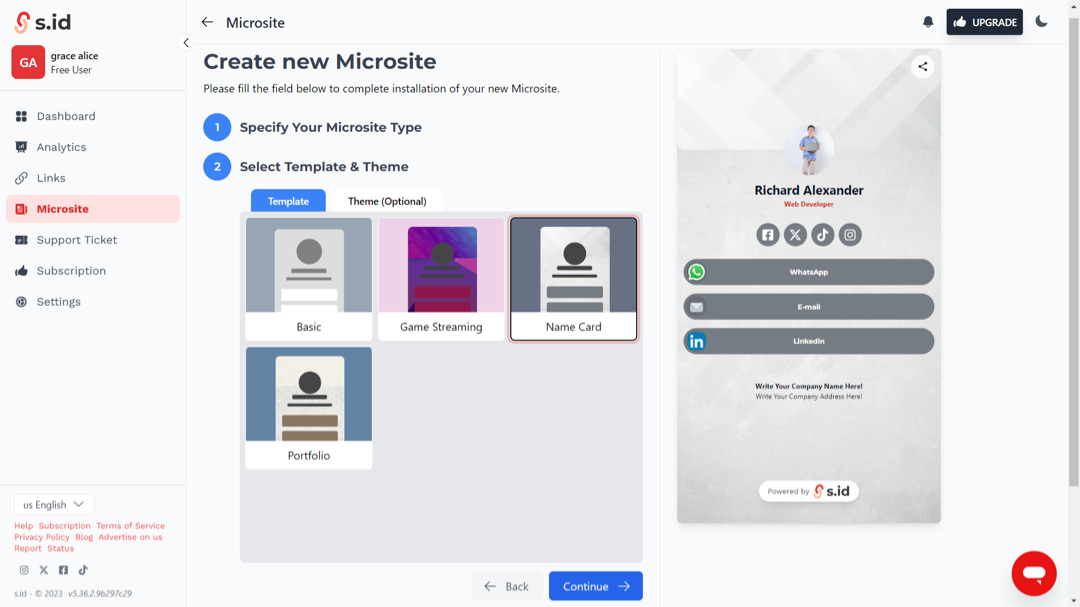
6. Choose a template and theme
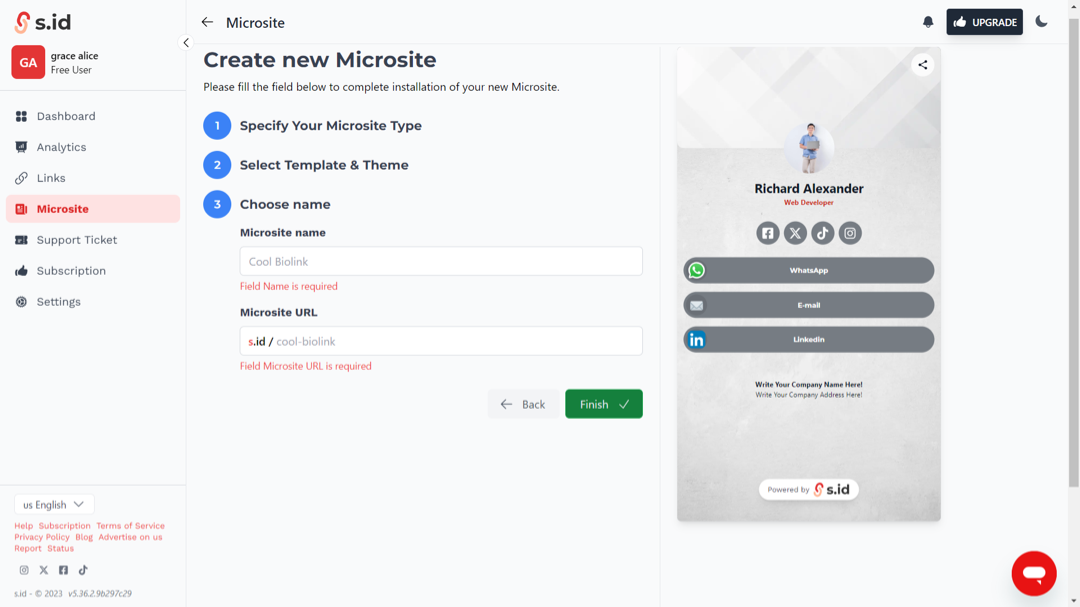
7. Enter your microsite name and microsite link (microsite link functions as the link that will be shared).
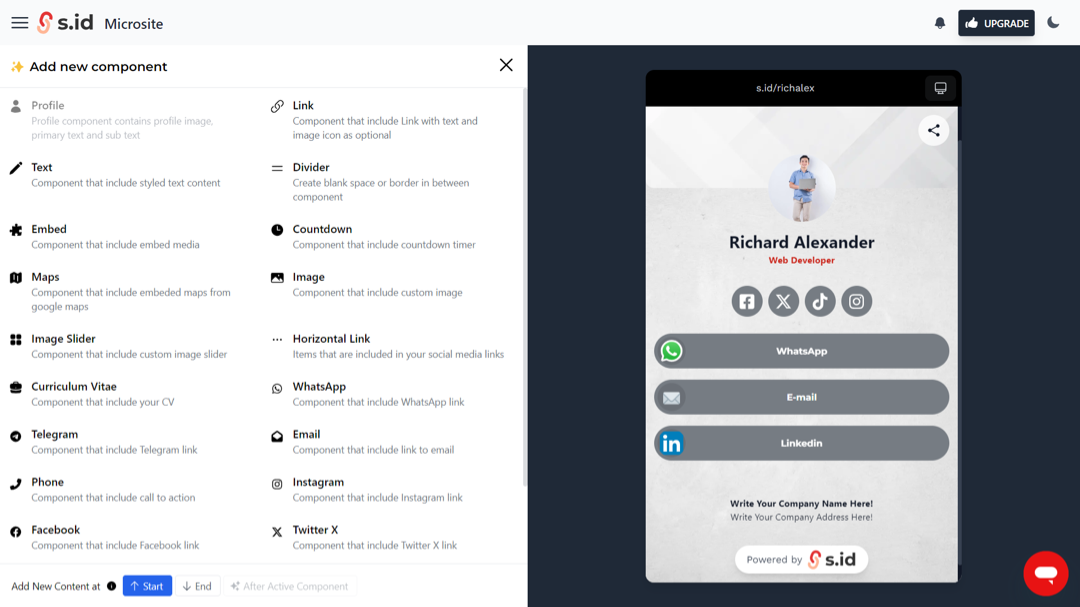
8. Then you can start editing your microsite by filling in the information you want to display and share.
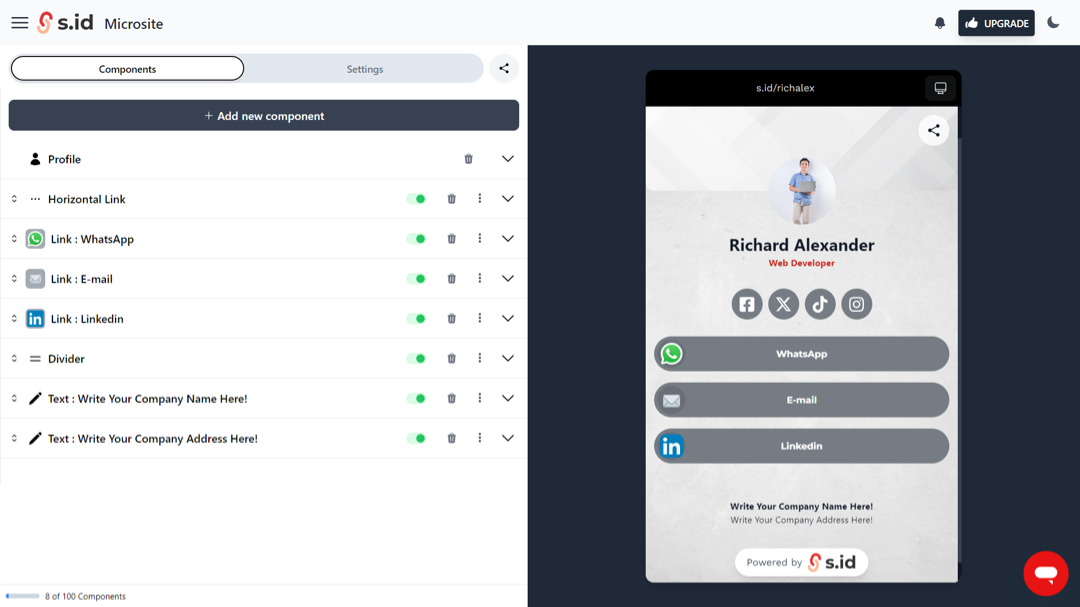
9. Click Add new component to add additional components if necessary.